
Routine Care
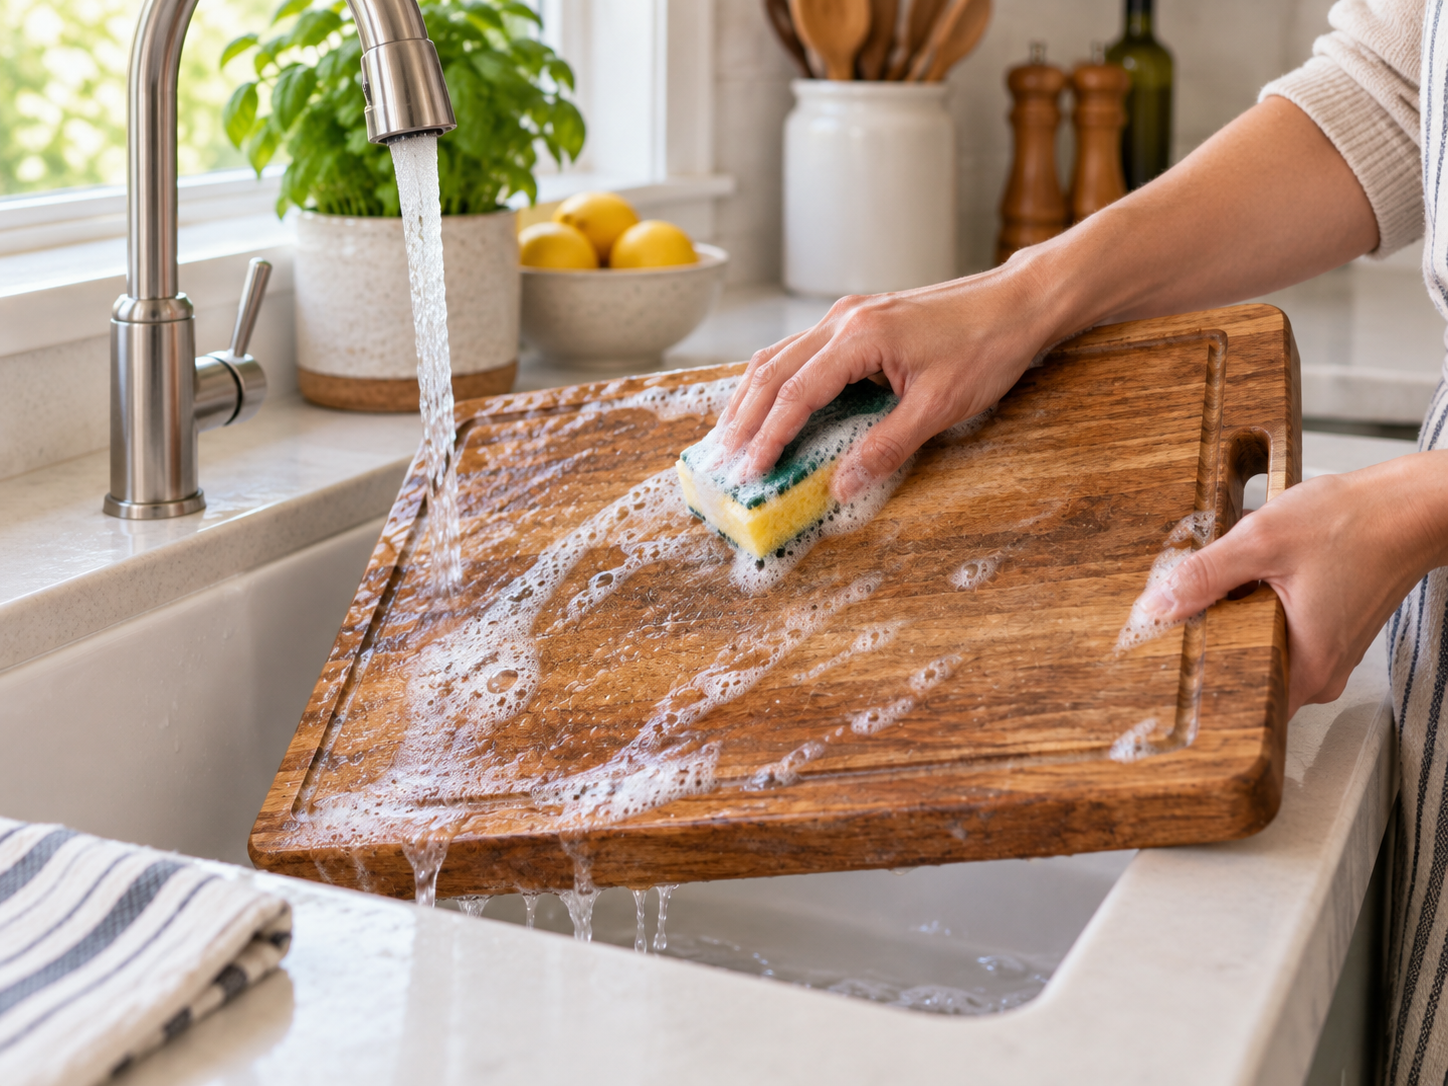
After normal use, wash the board promptly with hot water and a small amount of dish soap. Scrub away food residue, rinse well, and wipe the surface dry with a clean kitchen towel. Stand the board on an edge or otherwise position it so air can reach both faces until it is completely dry.
Do not soak a wooden board or leave it sitting in water. Prolonged moisture can cause swelling, warping, splitting, or cracking.
Stains & Odors
For a stubborn stained area, combine coarse salt and baking soda with only enough water to make a gritty paste. Work the paste over the mark with a kitchen towel or soft brush, then rinse the board and dry it thoroughly.
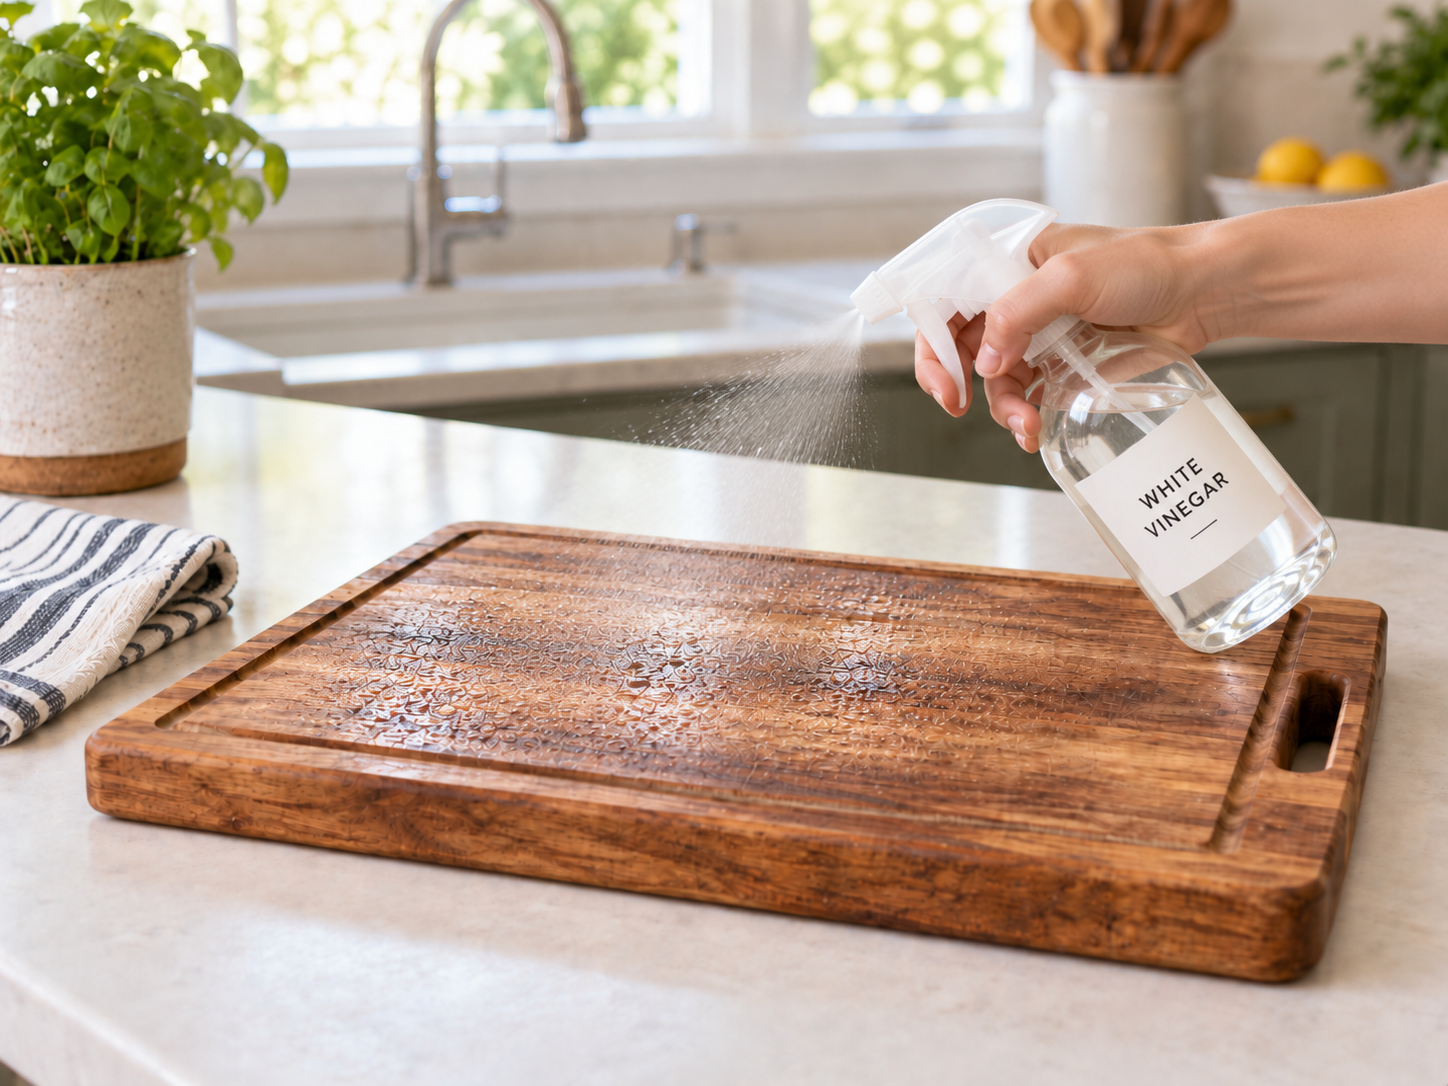
If the board is clean but still carries food odors, mist it lightly with plain white vinegar. Let the vinegar sit briefly, wipe or rinse as needed, and allow the board to air-dry completely. The vinegar odor disappears as the board dries.
Deep Cleaning
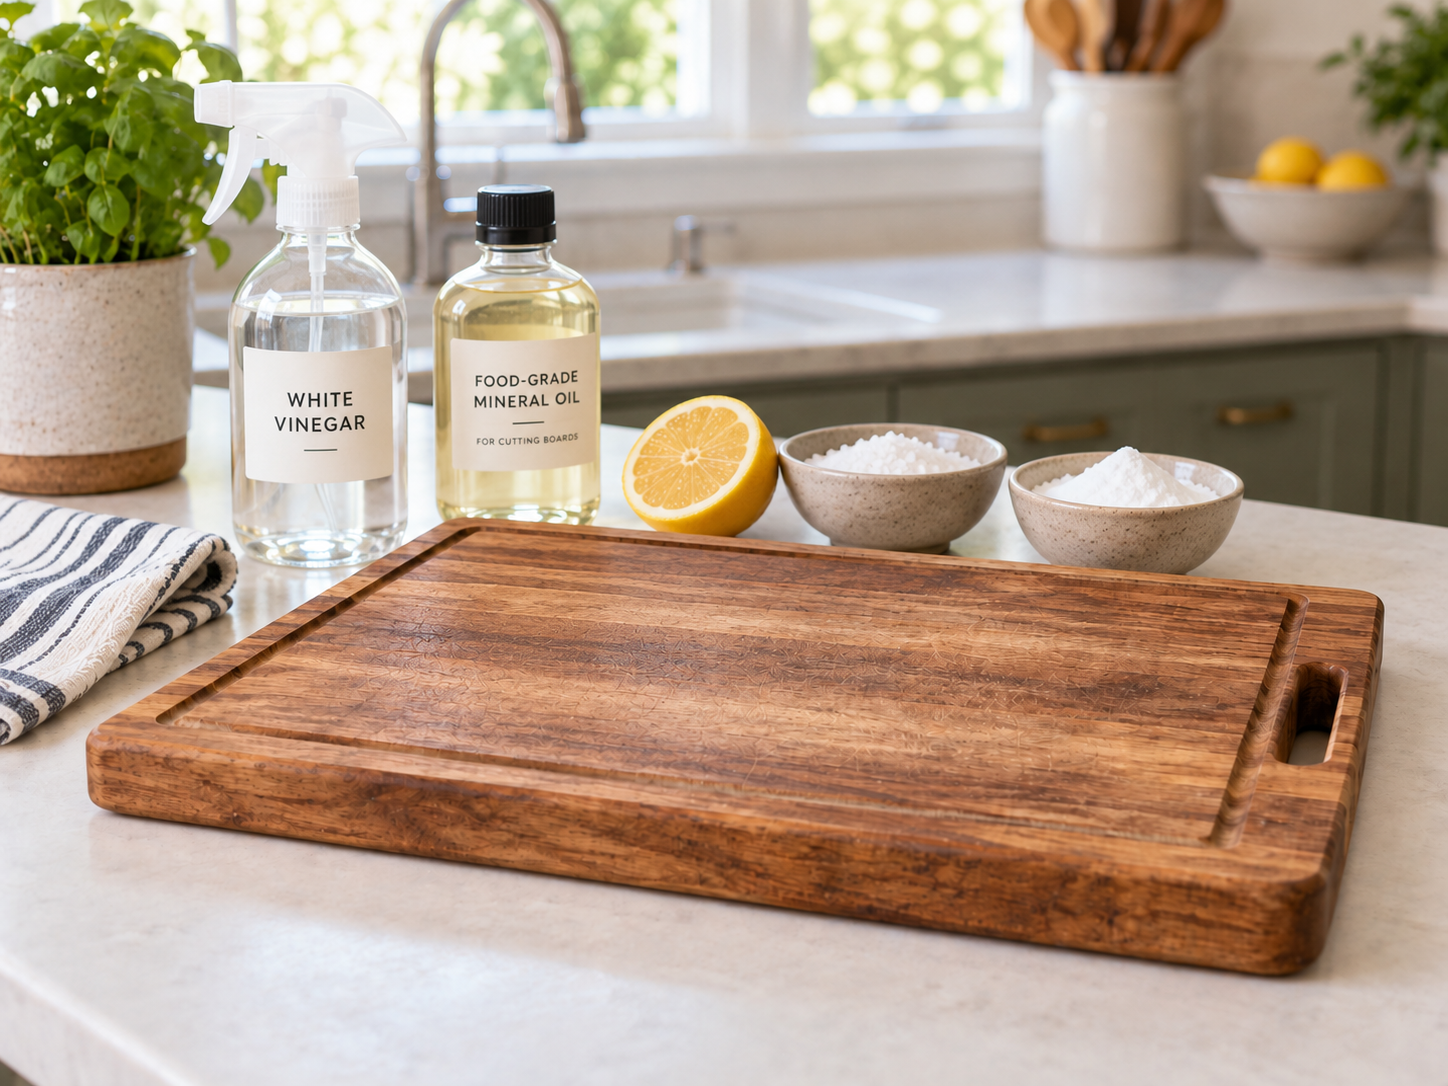
Use this treatment when ordinary washing is no longer enough or the cutting surface has become dingy. You will need kosher salt, half a lemon, food-grade mineral oil, and two clean kitchen towels.
Spread a generous layer of kosher salt over the entire cutting surface, including the edges and corners of the working area.
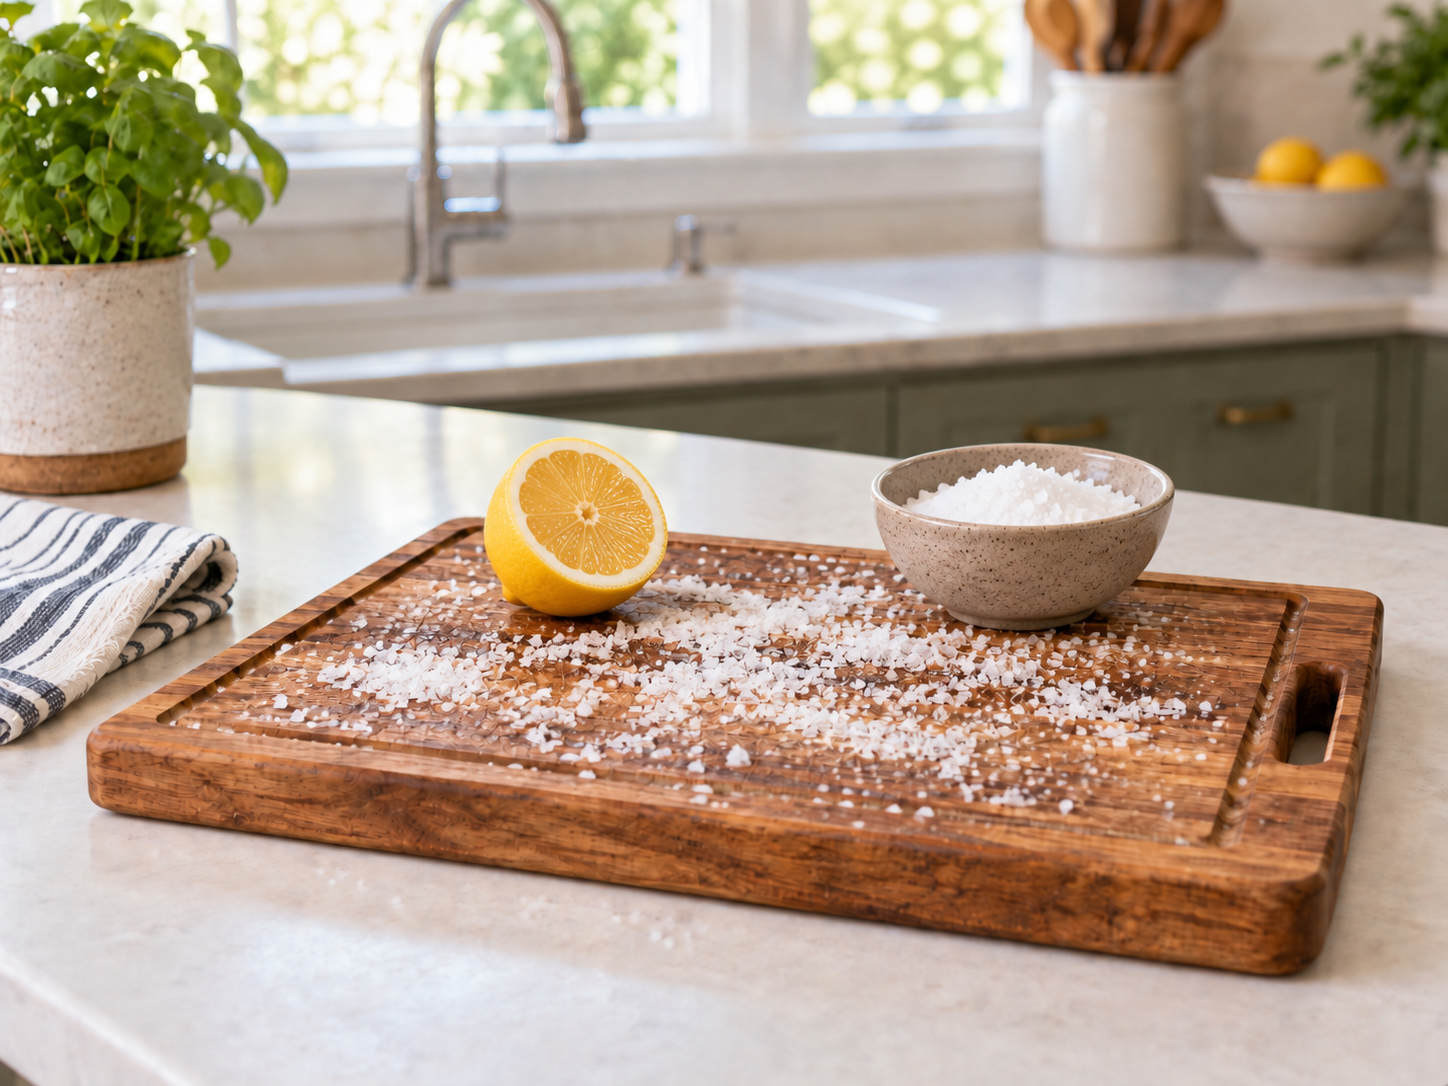
Using the cut face of the lemon, scrub the salted board firmly. Work methodically from one area to the next so every part of the surface is scrubbed; add more salt if the layer becomes too thin.
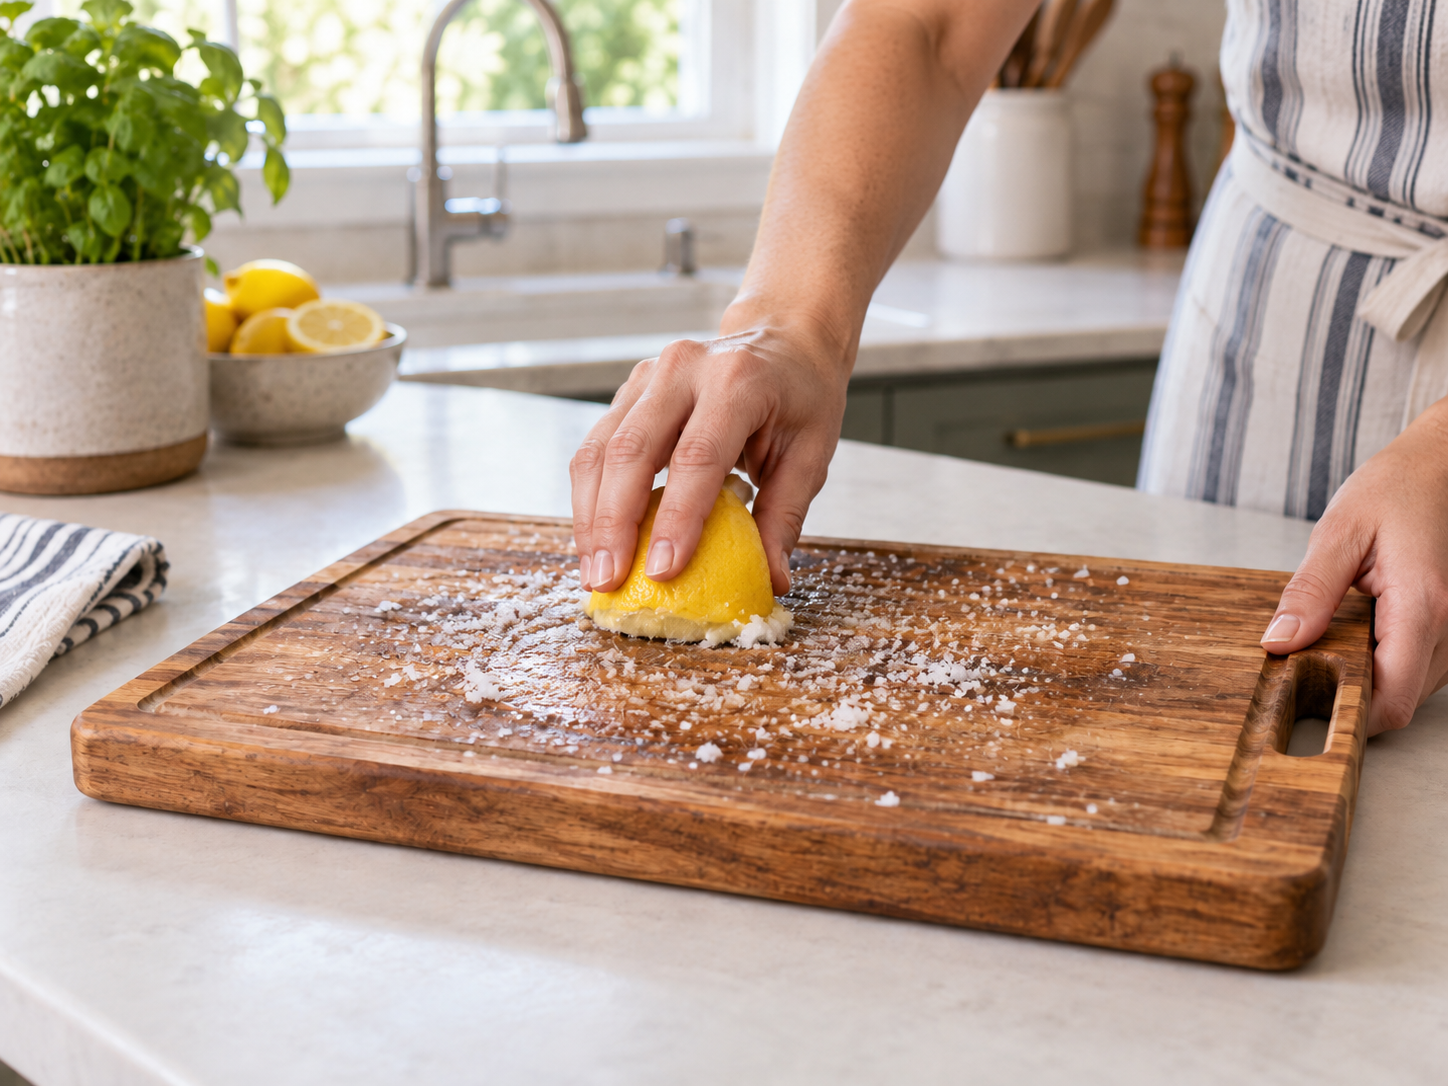
Make a final pass over any areas that still look dirty or discolored.
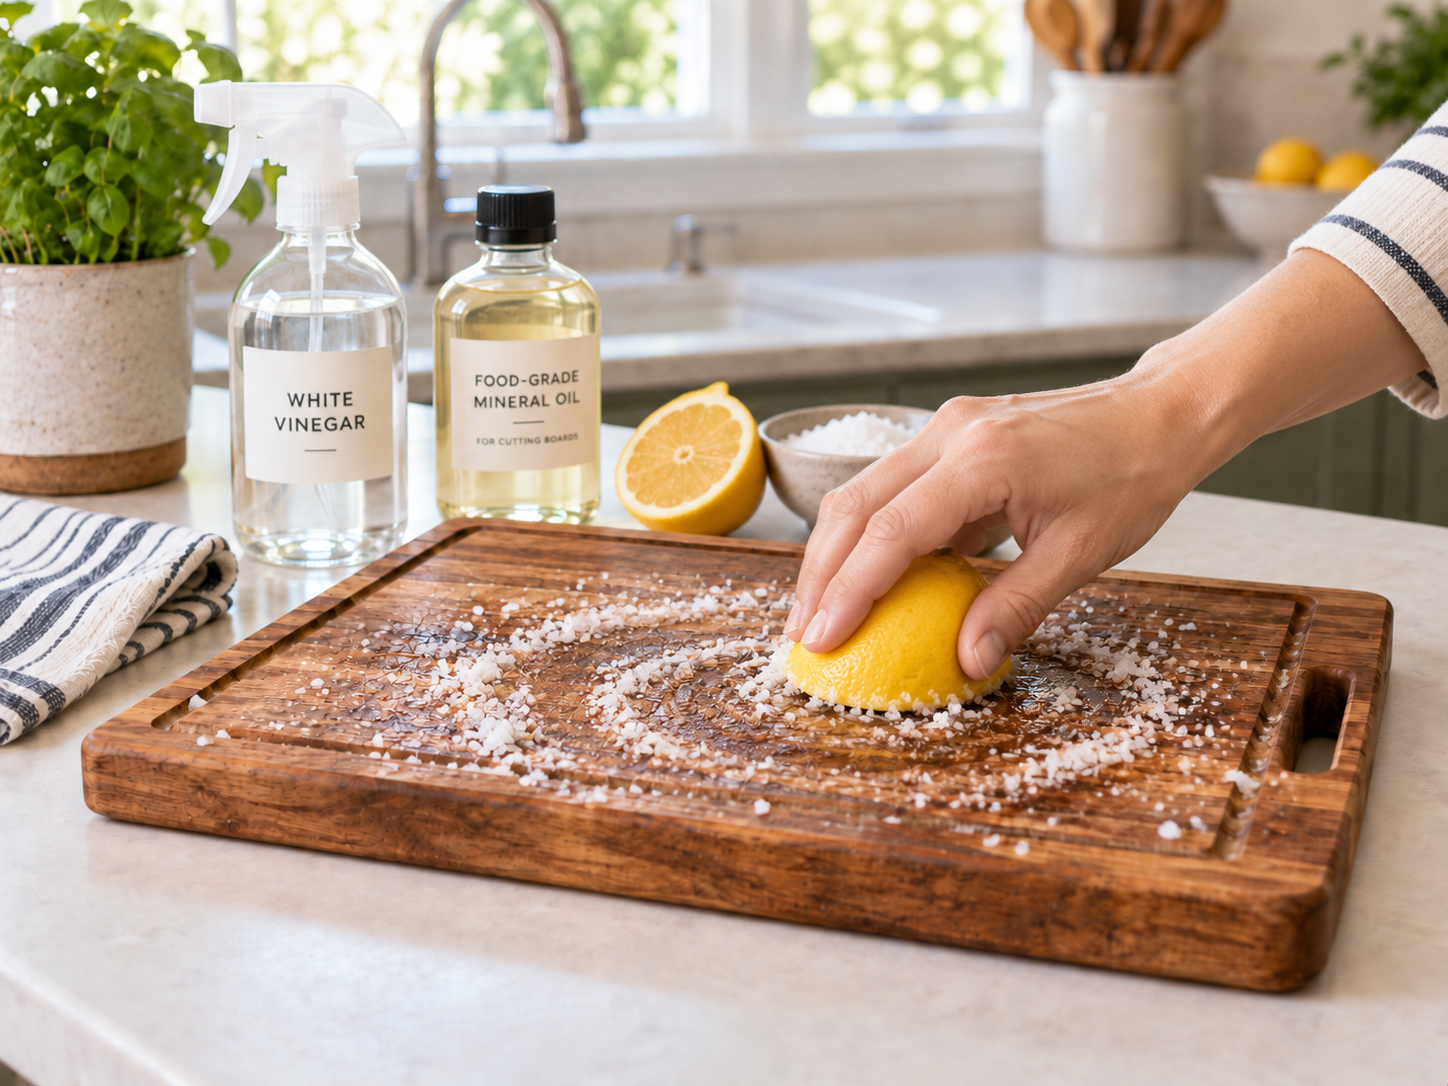
With one clean kitchen towel, wipe away the loosened residue and all excess salt. Give the board a quick rinse if needed, then dry it and allow the wood to become completely dry.
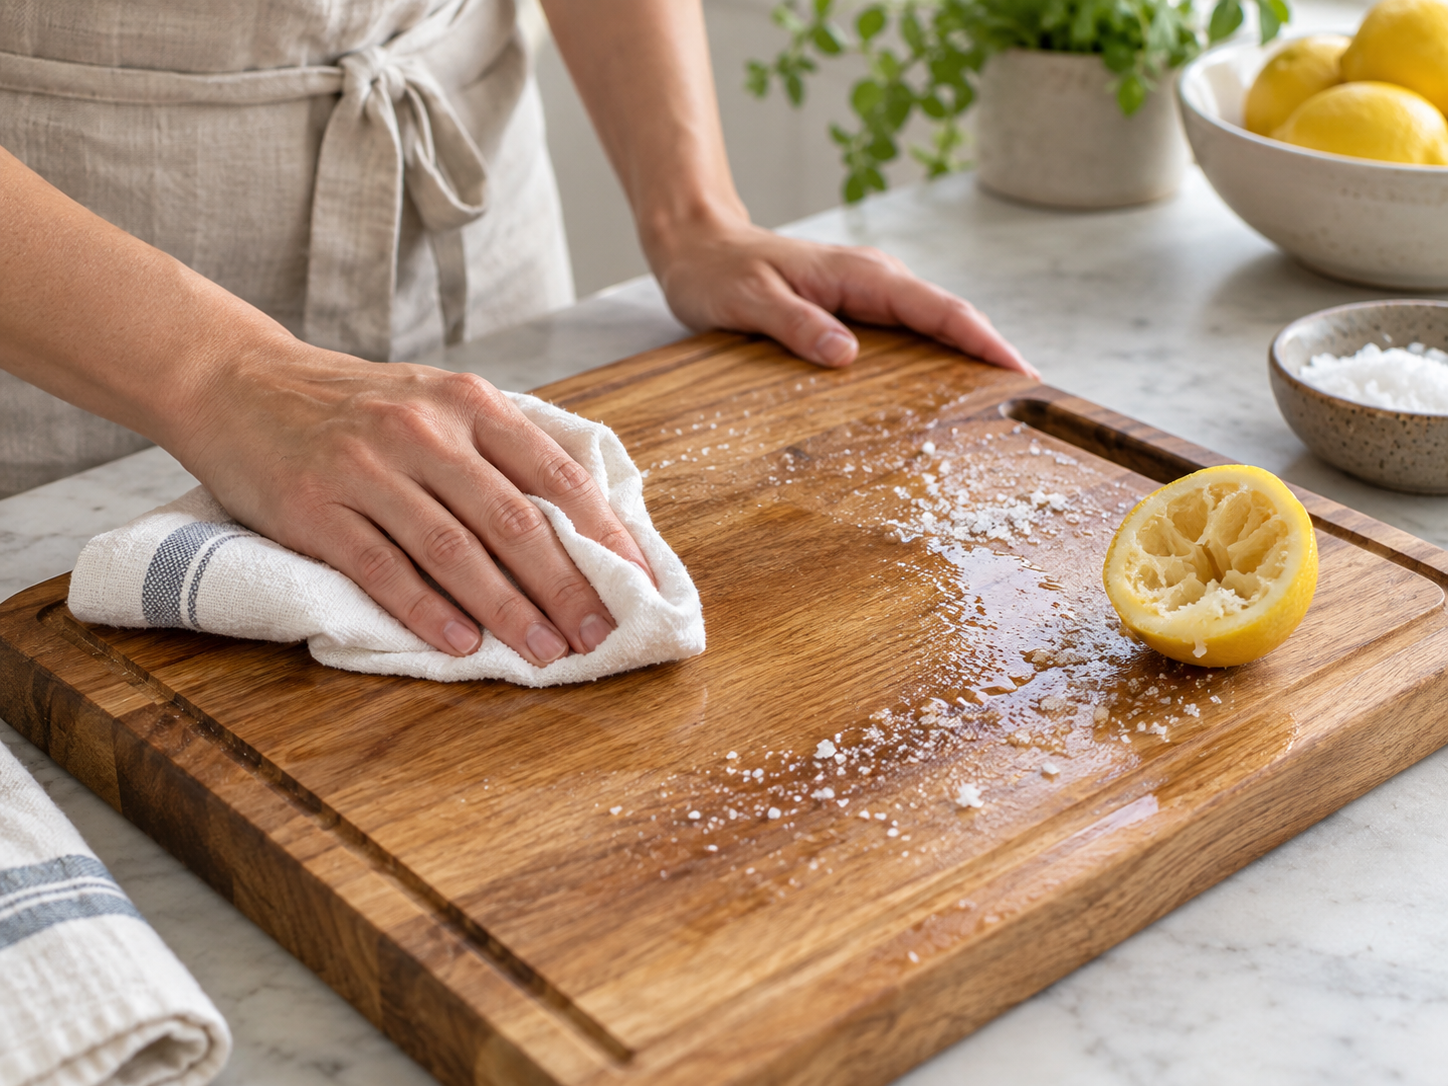
Deep cleaning also removes some of the oil that protects the wood. Once the board is clean and fully dry, finish the job by conditioning it with food-grade mineral oil as described below.
Oil & Finish
Conditioning is required after the deep-cleaning treatment above, and it is also normal maintenance whenever the board begins to look pale, dry, or rough. The board should be clean and completely dry before oiling.
Pour on a small amount of food-grade mineral oil and use the second clean kitchen towel to work it into the wood in the direction of the grain. Coat all exposed wood evenly and let the oil penetrate for at least 10 minutes. A very dry board can be left for several hours or overnight before wiping off the excess. If dry areas absorb it quickly or the wood still looks dry, add another light coat and give it more time to soak in.
When the wood has taken up what it needs, wipe away any oil left standing on the surface. The board should feel conditioned, not greasy.
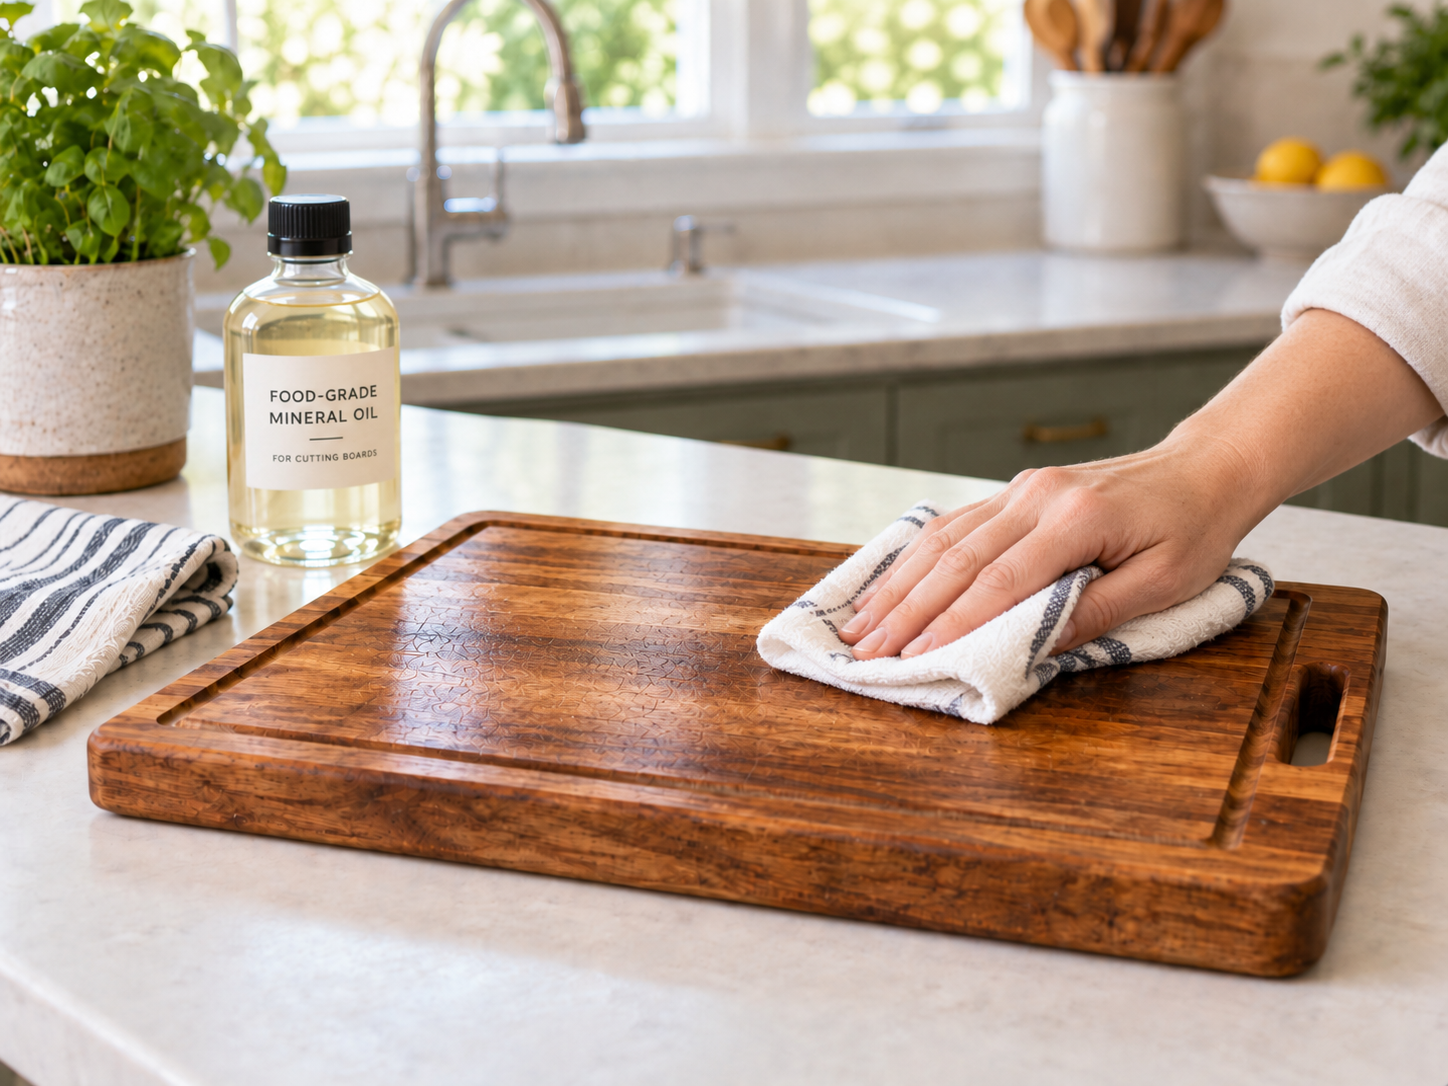
For a frequently used board, checking it about once a month is a useful habit, but the appearance of the wood matters more than the calendar. Oil it whenever it starts looking dry; there is no need to repeat the salt-and-lemon treatment each time.
Avoid these mistakes: never put a wooden cutting board in the dishwasher, leave it soaking, or store it while damp. Do not use ordinary cooking oils such as olive or vegetable oil as a wood treatment because they can oxidize and develop stale or rancid odors. Use food-grade mineral oil or another finish specifically intended for food-contact wooden boards.
Conditioning Paste
I use my own mix of mineral oil and beeswax paste as a Cutting Board & Wood Conditioner.
Heavy Resurfacing
If a board becomes deeply scored, rough, or stained, it can often be restored by sanding and re-oiling rather than replacing it.
Wash the board and allow it to dry completely before sanding. For significant damage, begin with about 80-grit sandpaper. Use a sanding block or wrap the paper around a flat piece of wood such as a paint stirring stick so the surface stays reasonably flat. Sand evenly with the grain until the deepest cuts and damaged areas have been reduced to an acceptable level.
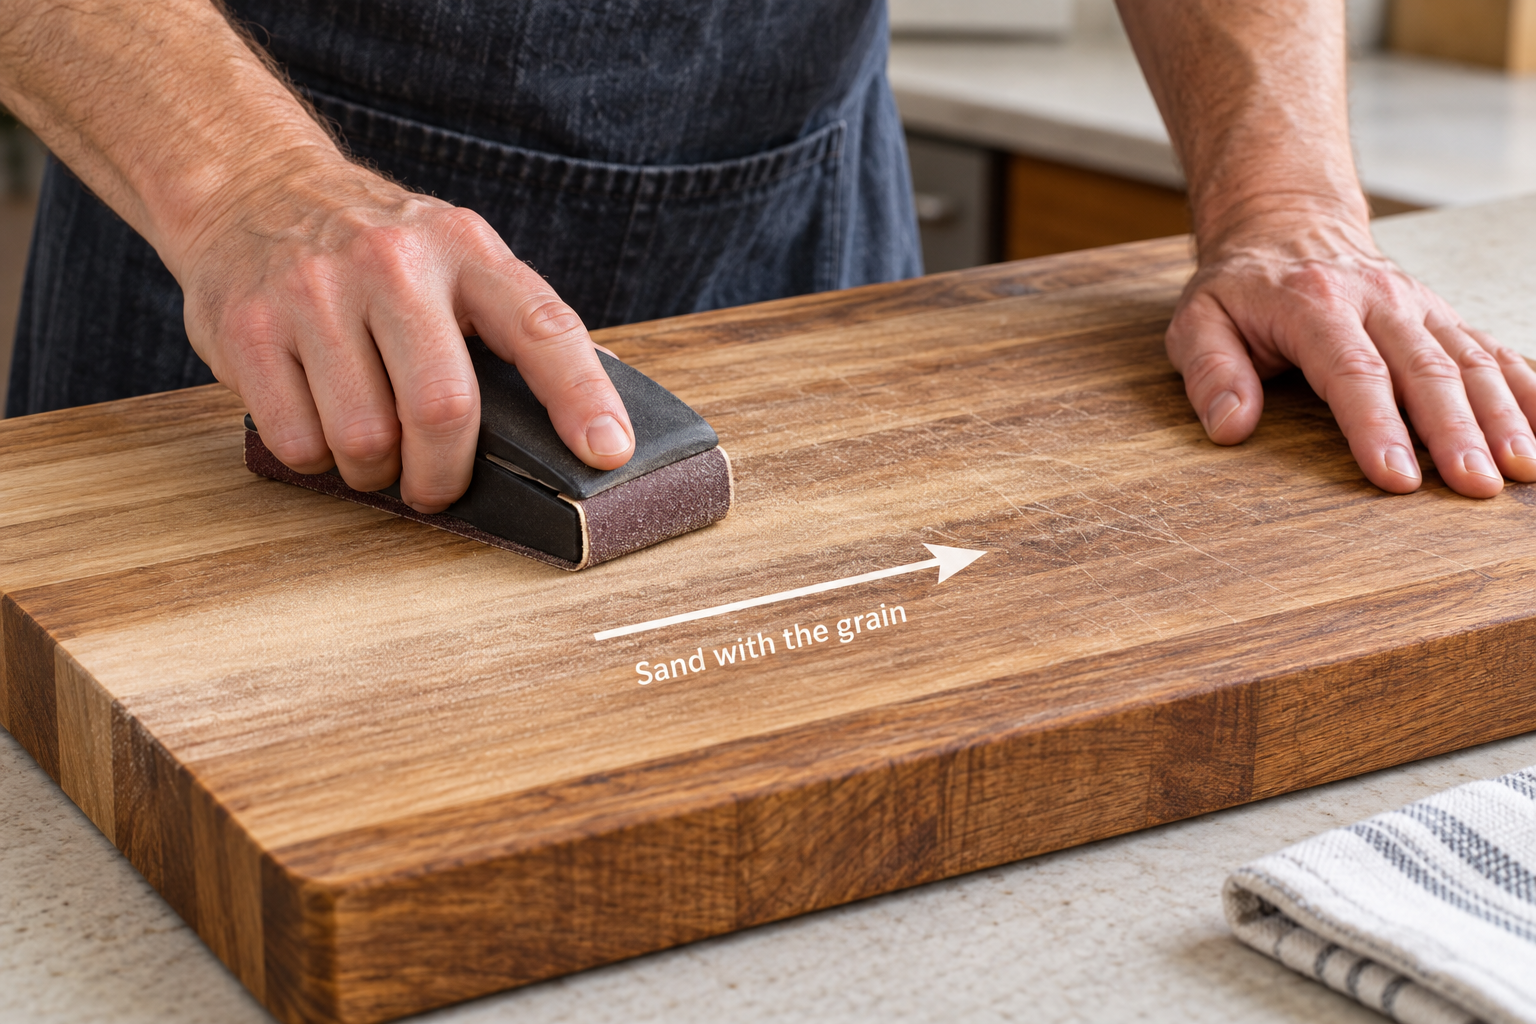
Continue with progressively finer sandpaper, removing the scratches from the previous grit before moving to the next. A useful progression is approximately 80, 120, 180, and 220 grit. For exceptionally deep damage, 60 grit can be used as a first step.
Sand the cutting surface evenly rather than concentrating only on individual grooves, which can create low spots. Lightly ease any sharp edges if necessary.
When sanding is complete, remove all sanding dust, wipe the board clean, and allow it to dry completely. Then apply food-grade mineral oil to all exposed wood and condition the board as described above.
Food Safety
These instructions are intended primarily for the care, cleaning, and conditioning of wooden cutting boards. For complete kitchen food-safety practices, including preventing cross-contamination when handling raw meat, poultry, seafood, and other foods, see the FDA's Safe Food Handling guidance.
Knife marks are normal. Replace the board if it develops deep cracks, splits, or separating glue joints that can trap food or cannot be cleaned thoroughly.